ID Card Maker Software Screenshots
ID Card Designer is a simple and user-friendly app that provides users with a specialized set of tools needed for designing, editing, and managing ID cards and various design features. Create and print ID cards using advanced card design tools such as Line, Ellipse, Pencil, Rectangle, Text, Barcode, Picture, and Arc, Triangle, and Star objects. Designing ID cards with a few simple mouse clicks using software. Use ID card design software to quickly and easily create visitor badges, security ID, student ID, and employee cards.
Process of designing profesional and customized ID cards using Card Designer Software:
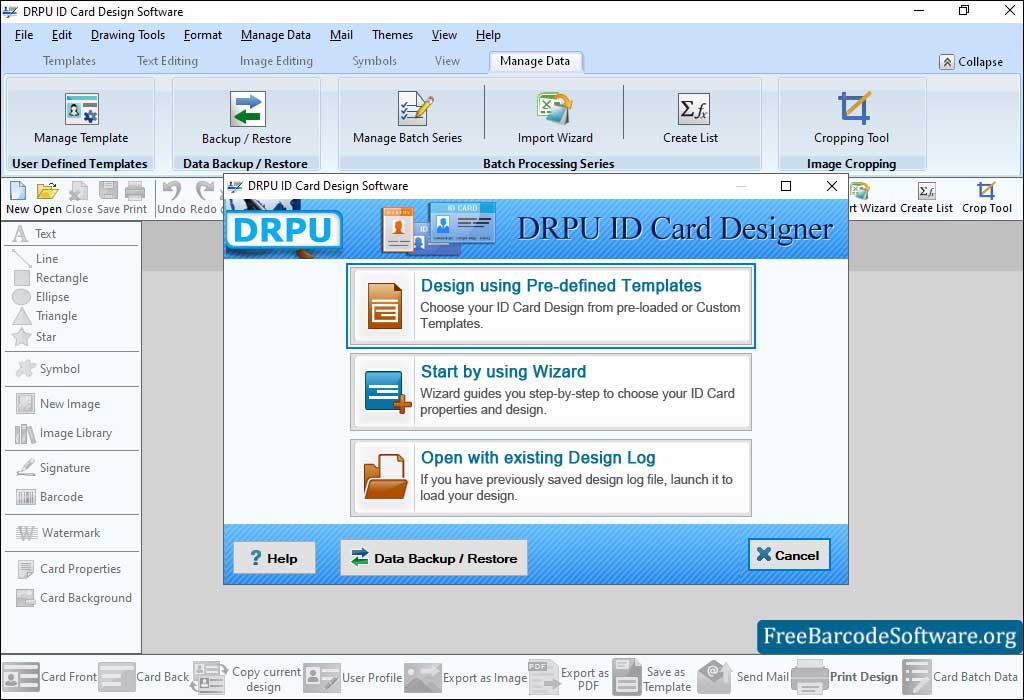
Step1: Choose any one option to start designing your Identification Card

Choose mode of designing to start creating ID card of your choice.
➣ Select ‘Designing using Predefined Templates’ option to design a card.
➣ Choose template category (predefined or custom) and the filter option (all templates, double-sided horizontal or vertical, single-sided horizontal or vertical).
➣ Specify a standard card size or get the size from the printer by enabling the custom card size option.
➣ Add user details by importing data from an excel sheet or entering the data manually.
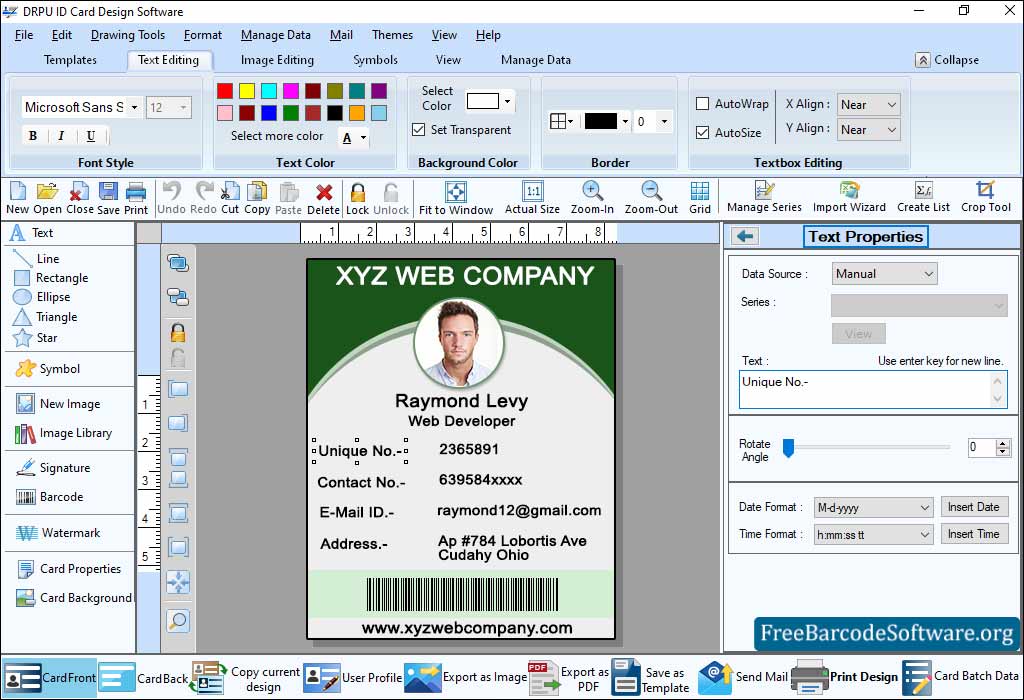
Step2: Double-click on the text, you can change text properties like general, color, and other settings.

Go to shape tools from left panel, add shape and text. To edit your text properties go to right panel and proceed.
➣ In the general settings, select text alignment (vertical or horizontal), data source to add text in a card from a series, text font, and mode.
➣ Choose front and back color of text, including solid, gradient, or transparent, using the color setting option.
➣ You can also rotate the angle text of card using other settings tabs.
➣ Set the Text border color (basic and custom color), border width, and style (solid, dash, dot).
➣ From left side, Click on picture tool and browse image to be add on your id card.
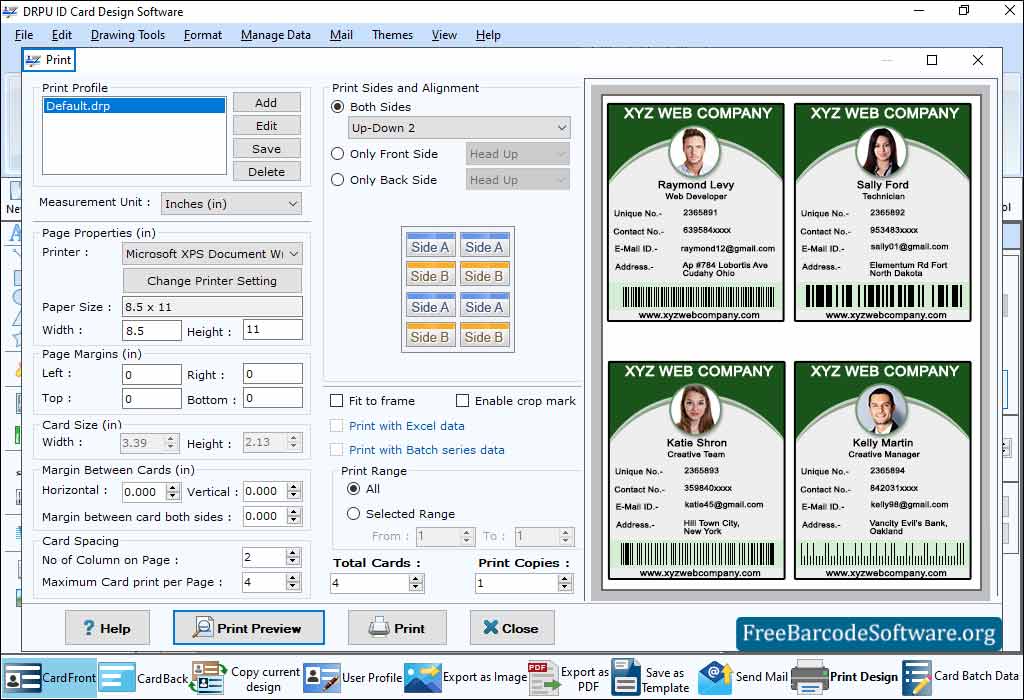
Step3: Print your designed ID card by choosing the ‘Print Design’ option from the bottom tool bar.

Go to print option from toolbar, fill printing attributes to proceed. To preview your settings press “Print Preview” button to proceed.
➣ In page properties tab, add printer type, paper, orientation and paper size.
➣ Set page margins (left, top, bottom, right) and card size (width and height).
➣ In Margin between cards option, set margin between card vertical or horizontal and also give margin between cards both side.
➣ Choose the number of columns on the page, maximum card print per page, and define the printing range and other settings.
➣ After setting all the details, print your card using the ‘Print’ button.